One of my favorite seasons is summer where I enjoy staying up late on those dark moonless nights taking in the splendor of the Milky Way. It is a favorite past time of mine. From a dark site far away from city lights, the summer Milky Way is quite pleasing to the unaided human eye. There is so much structure and beauty nestled among hundreds of millions of stars. Just with the naked eye, casual sky watchers can trace the etchings of dark nebula and see blotches of brighter nebulae and star clusters scattered throughout.
From mid-northern latitudes in late July, the summer Milky Way takes center stage stretching from the southern horizon near Scorpius to Cygnus the Swan in the north and fading into Cassiopeia in the northeast. It is a must to get away from the city lights to see this magnificent band of milky light stretching across the sky. Taking a pair of binoculars and scanning its length will leave you in awe for several minutes to perhaps an hour or so. There is so much to behold.
With digital photography, imaging the Milky Way has become so much simpler than when I started photographing the night sky with photographic film. But the overall concepts of capturing the Milky Way remain nearly the same. And with today’s digital cameras the task is quite easy. To start, you need a digital camera with a relatively sharp fast lens ranging from 17mm to 50mm in focal length. Your lens must also be relatively fast with an f-stop ranging from f/3.5 to f/1.8. Second, you need a sturdy tripod in which you can accurately and steadily point the camera toward the place you want to image. And third, it helps to have a camera capable of taking long exposures with the ability to have the shutter remotely triggered. Otherwise your images may turn out blurry due to camera shake.
Once you’ve attached the camera to the tripod, you need to focus your camera. “How do you focus in the dark,” you ask? Most digital single lens reflex (DSLR) cameras today have an LCD live view screen. Simply point the camera toward a bright star or planet or a light source on the horizon. Then zoom in on it with your live stream zoom function and fine tune the focus. Make sure your camera’s automatic focus is disabled and the camera is set for manual focus. Because the Milky Way is dim, your camera will not be able to automatically focus in low light conditions. Once you have that sharp focus, point your camera toward the region of Scorpius and Sagittarius in the south.
If you are using a wide angle lens such as a 17mm lens, you can easily expose the sky for 15 to 20 seconds without the stars appreciably trailing. Shorter exposures will be necessary for longer focal length lenses, but the best advice is to go as wide as you can. The Milky Way is a very big place. Depending on your sky conditions, set your ISO speed to between 800 and 1600. The faster your ISO rating the greater the exposure and chance of capturing some of the fainter jewels nestled in the Milky Way. In some cameras a high ISO rating can also introduce a lot of noise into your images causing them to appear grainy. With everything set up and ready to go, start your exposure and see what you get. Experiment along the way until you are satisfied with the results.

It is amazing how much simpler digital photography can be. When I used to image the night sky with film, I needed to use exposures ranging anywhere from 2 minutes to 10 minutes and I needed a device to guide on the stars to keep the stars from trailing. But because of the extreme sensitivity of Charged Coupled Devices (CCD) or Complementary Metal–Oxide–Semiconductor (CMOS) image sensors, one can achieve nearly instantaneous results by viewing the camera’s preview screen after the image is captured. Plus it makes experimenting with the settings very easy. And if there is an image you do not like, you can simply delete it from your camera.

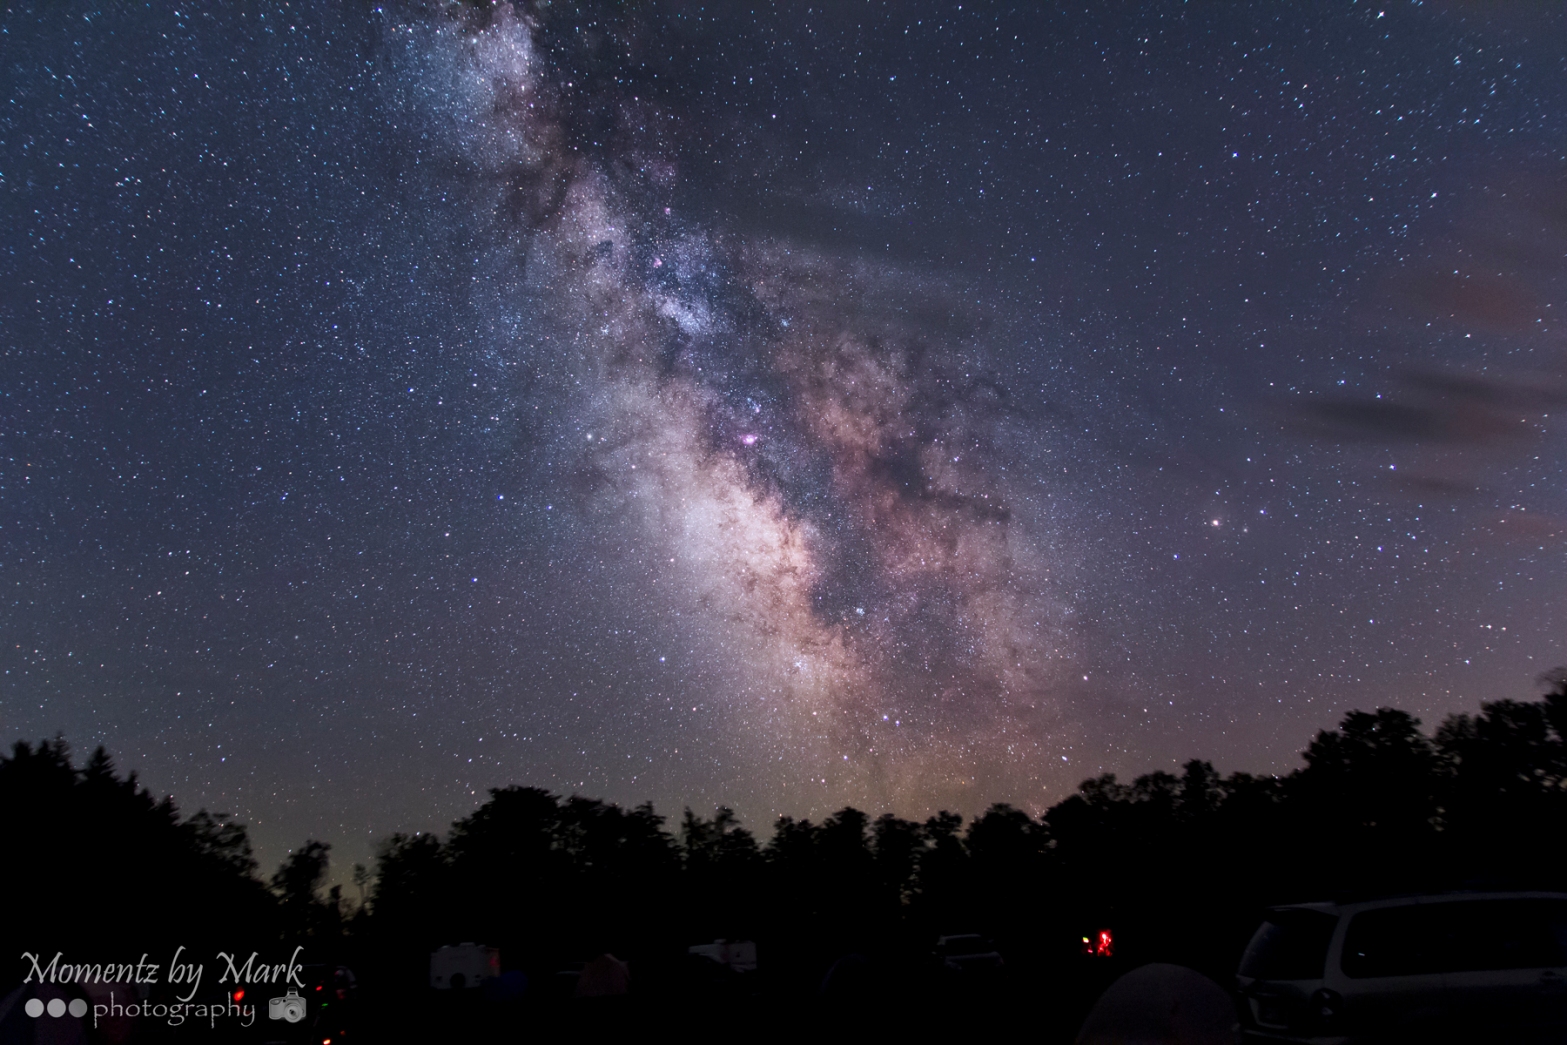
The Milky Way is filled with all sorts of faint fuzzy gems awaiting your gaze. Use the accompanying image above to see where just a few of the nebula, star clouds, and clusters reside. Start out scanning the summer Milky Way with your naked eye from a dark location and on a dark moonless night. Once your eyes have sufficiently adapted to the surrounding dark and the sky conditions, step up your gaze through a pair of binoculars. And if you have a camera, try your hand at some basic astrophotography and capture your own portrait of the Milky Way. You’ll be amazed at how much beauty you’ll uncover. There is a personal sense of discovery that comes with immersing yourself with nature and creating priceless memories….memories that you’ll be able to share with others for years.
Enjoy! And Keep Looking Up!

Can you see the colors that show up in photos with the naked eye? The one time I got a glimpse of the Milky Way, I was surprised that it looked mostly gray. Then again, I think the sky could have been a lot darker too.
LikeLiked by 1 person
You can see star colors with the unaided eye, but the “Milky Way” itself does look grayish or as if there are thin clouds overhead. Certain cameras can pick up colors of nebulae that the human eye cannot perceive.
LikeLiked by 1 person
Ah, I see! Thanks.
LikeLike